
Leathercraft, first project
Make your own leather wallet.
Made for your first project: a printable pattern, a short tool list and step-by-step instructions with illustrations. Cut it, stitch it by hand, carry it every day.
Free, no signup. Print it at home on A4 or US Letter.
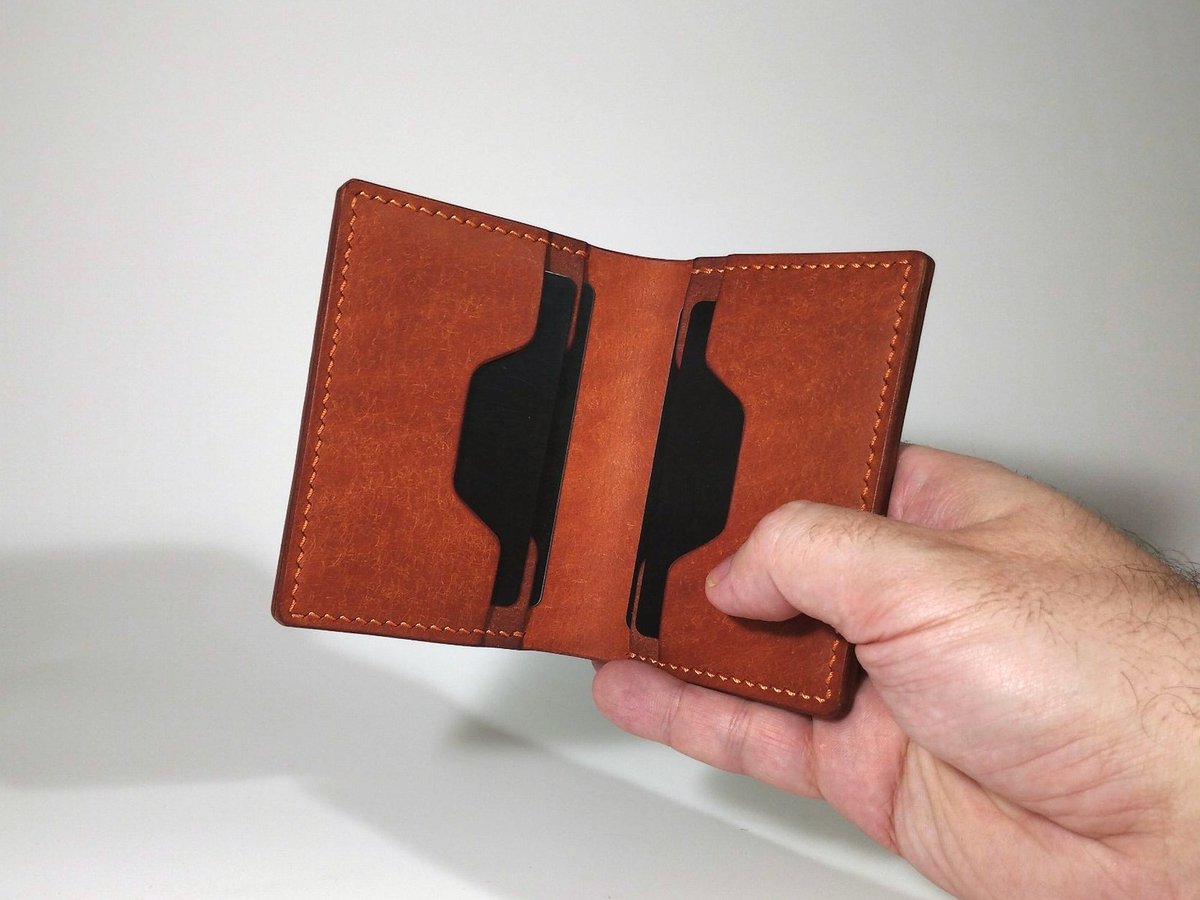
- PDF pattern to print at home
- A4 + US Letter
- Sheets for 6 iron spacings, 2.7–5 mm
- Step-by-step illustrated instructions
- €6 a model · Model No.001 free
How it goes
Four stages. The instructions show each one in pictures.
01Print
Print the sheet at 100%, check the scale strip with a ruler, cut the paper pieces out.
02
Cut
Trace the pieces onto leather and cut them with a sharp knife.
03
Glue and punch
Glue the layers, trim the edges in one pass, then punch the stitch holes through all layers.
04
Stitch and finish
Stitch by hand with two needles, then smooth the edges.
What you need
A basic set is enough for the first project. The guide explains each choice.
- Leather · 1.0–1.4 mm (2.5–3.5 oz)
- Sharp knife and cutting mat
- Steel ruler
- Pricking iron · any spacing from 2.7 to 5 mm
- Mallet or hammer
- Leather glue
- Two needles and waxed thread · 0.45–0.55 mm for most wallets
- Sandpaper for the edges